These instructions are ONLY for first-time installations of RFMS.
If moving your existing RFMS program and database to a new server, please click here for our Migration Documentation.
FULL Install Package Documents
Run the “New_Install” file that was sent. When the file loads, click next, read our terms of service, click accept, click next, choose where to install RFMS (most customers choose to leave this as the default location. The RFMS folder can be moved afterwards as well) until the following screen has been reached:
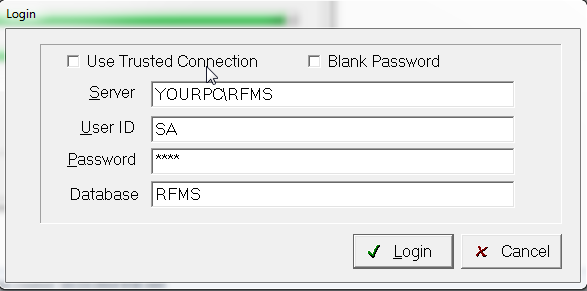
In the first line, put the Server name and SQL instance name that was created in step 1 in the Install and Configure SQL document. The Server name is just the name of the computer, and the instance name is what was chosen during the SQL installation. So if the server name is Chad and the SQL instance is Daniels, the first line would read “Chad\Daniels.”
User ID will always just be SA, leave that line as is.
The password line is the SA password that was created for the mixed mode authentication, which was in the previous document as well during the SQL installation, which in my case was just “rfms” in all lowercase.
The database line can be named anything – most customers choose to leave this as the default “RFMS” database name. Click Login – a window should appear that says “PLEASE WAIT WHILE DATABASE OPERATIONS COMPLETE”. Now, click the RFMS shortcut on the desktop, and wait for the database checkpoints to finish, in a window that looks like this:
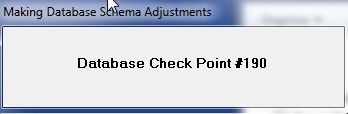
There are quite a few checkpoints, so don’t be alarmed if this takes several minutes. It can take up to a half hour on slower hard drives.
When the checkpoints finish, there should be a window that says “License Error”.
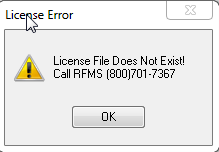
If the client does not have a license file (It should be called “RLicense.TPS”), they or the technician will need to call the business office – the number on the window – to have a new one emailed.
When the RLicense.TPS file has been successfully placed in the RFMS folder, a new window will appear with some red and green numbers that looks like this:
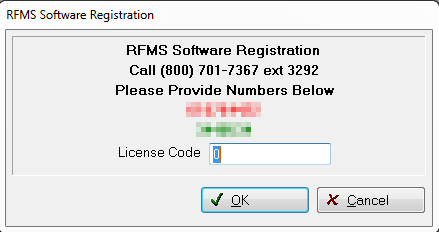
Now call the RFMS business office one more time and give them the red and green numbers that appear. The person who calls will then be given a license code to type into the box as shown above.
Type the code in and the RFMS navigator will then appear – if it does not, look over the last document and make sure that all the steps in the SQL configuration have been done correctly.
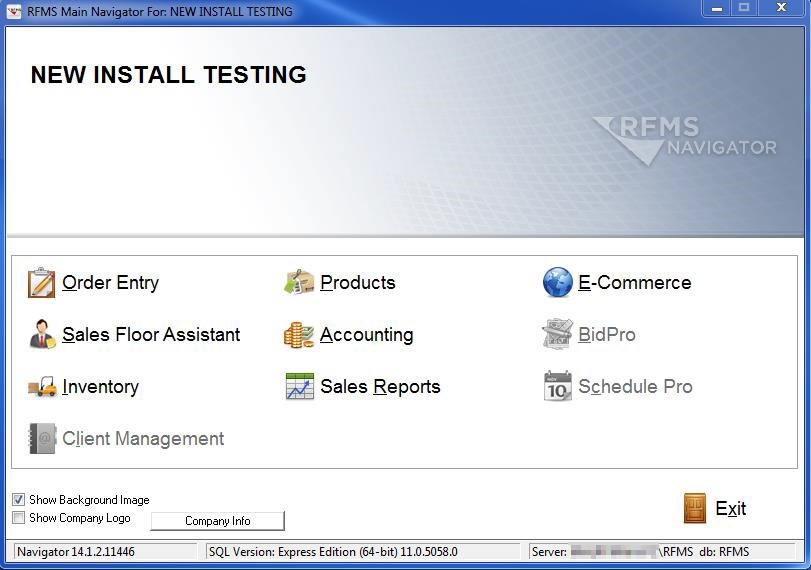
Once the navigator comes up, click on Order Entry and make sure no errors appear. Another database checkpoint may blink briefly when it is first opened – this is normal for the first time RFMS is used and is not an error.
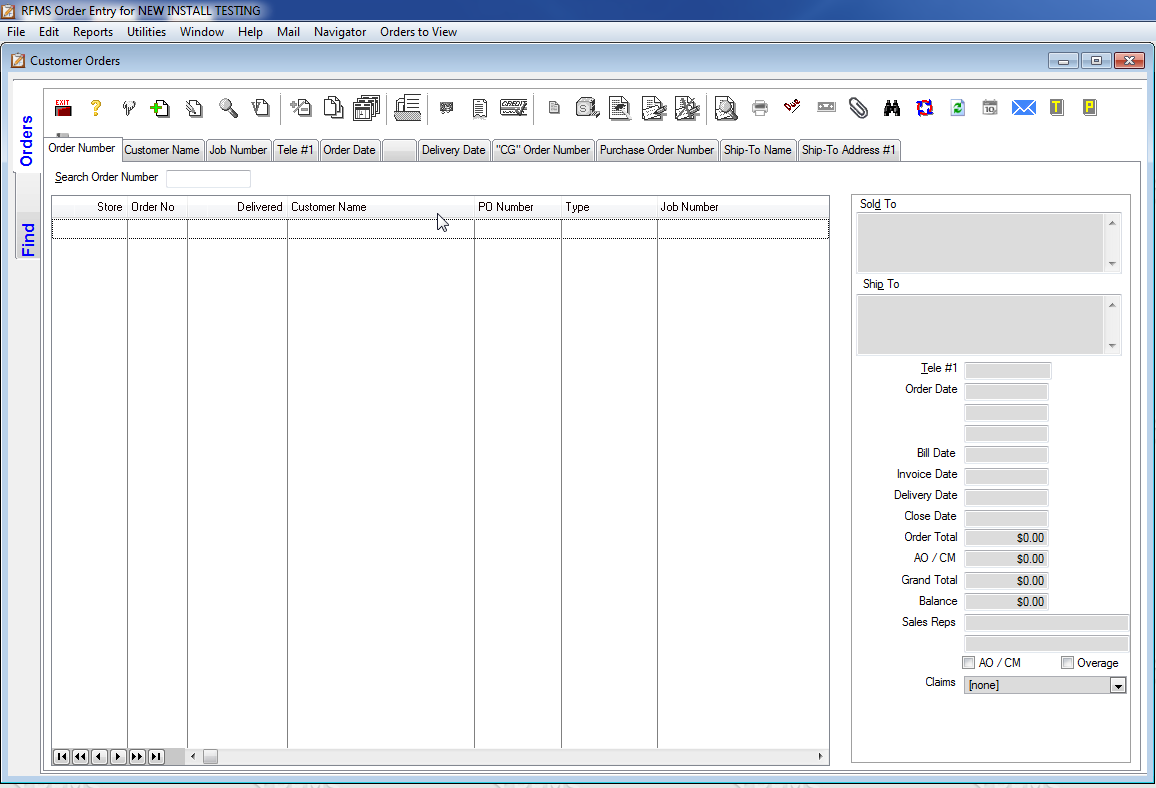
Did a blank order entry screen like above appear? Good – RFMS has been successfully installed at the server. Before connecting workstations, now would be a good time to go to portal.rfms.com and make sure no updates have been made since first ordering the software. Once the customer id and password have been typed in, click the button that says “Current Version”. When this has been done, a screen like this should appear:
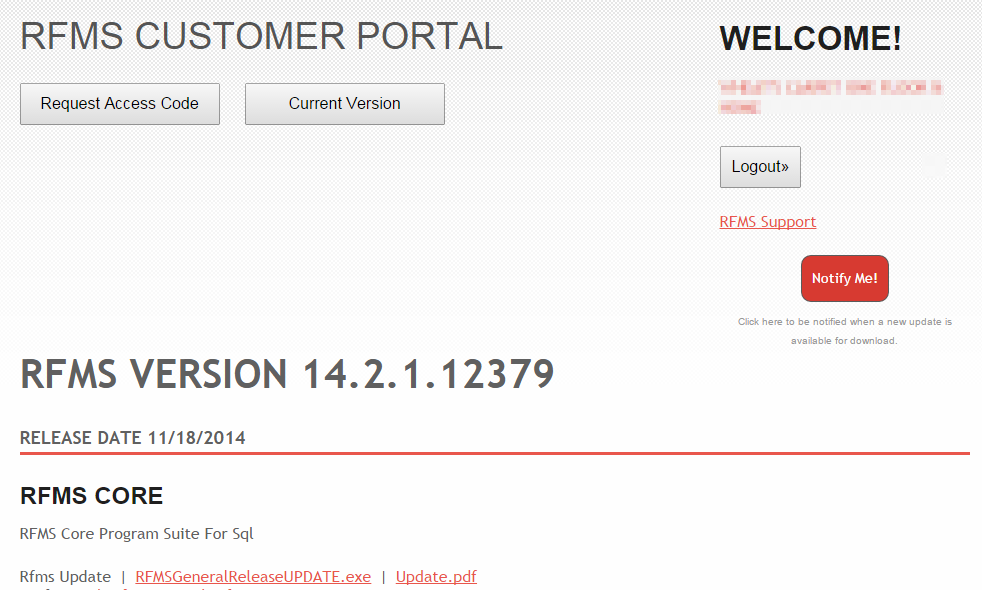
There are other files on there, like Workstation components, but unless the client has add-ons such as Pricing and Tagging these files won’t be needed. RFMS runs completely off the network in a standard installation and does not need anything except the core RFMS program.
Check the RFMS navigator to see if the installation is up to date. Run RFMS at the server again and look in the bottom left for the version number. Does that match what is on the website?
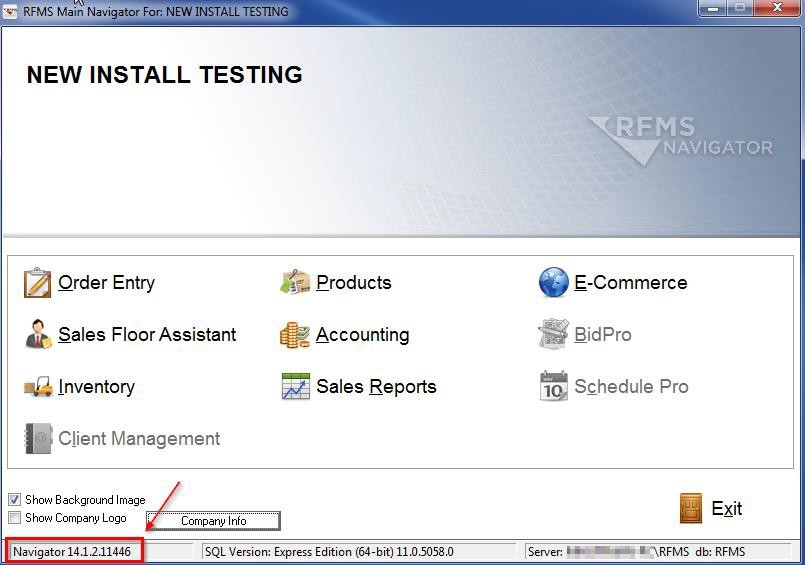
In my case, it looks like I am on 14.1.2.11446, when the latest version is 14.2.1.12379. I’ll need to update my software. Ordinarily, I’d need to shut down any workstations connected to RFMS to update the server and stop and temporarily disable any add-on services such as CCA, Salesforce and Gateway, but I haven’t connected any workstations yet, so this will be a fairly simple procedure.
Download and run the file from portal.rfms.com that says RFMSGeneralReleaseUPDATE.exe to update the software.
When running it, click Next, read our terms of service, click accept, click next again, then on the next screen the update program will show where it thinks RFMS is installed. Make sure this is correct then click Next.

The update may ask for the customer number on the next page. This is the same as the customer ID used to log in to the RFMS portal to get the RFMS update. Make sure RFMS isn’t running before clicking next the last time, or the update will have to start over. The update cannot run while RFMS is still running at a workstation or the server.
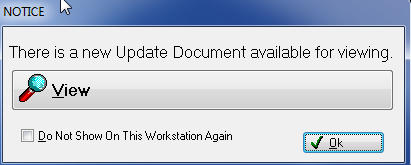
Once the update finishes, there should be a small number of extra database checkpoints, then a notice will appear offering to show the changes in the latest update. Once these have been looked over, click OK.
After clicking OK, look in the lower left of the Navigator. Does it show that this installation is on the latest version?
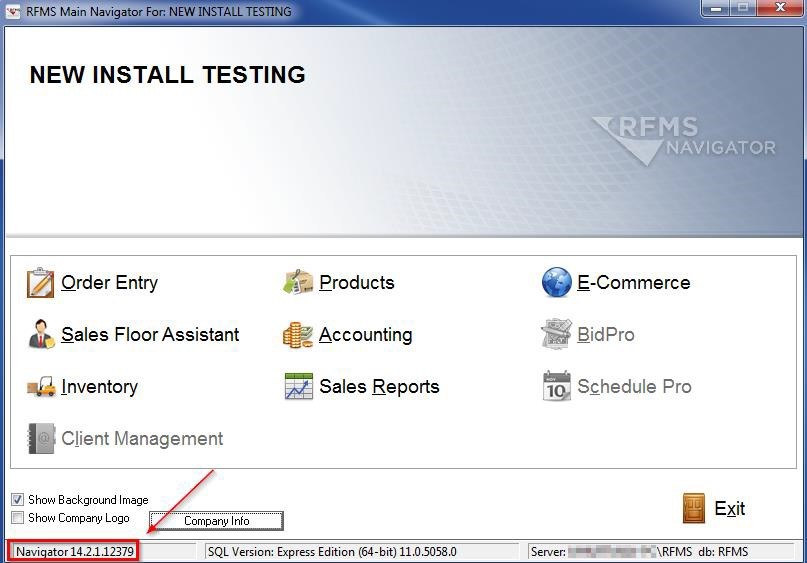
In my case, it looks like the update completed successfully – I have updated from 14.1.2 to 14.2.1. Hit Exit in the Navigator and the RFMS update can finish.
This time, the update process was fairly simple. Once the database becomes active (the technician has reached the Connect Workstations step of the install), the above process is insufficient. After the database becomes active, make sure to test any updates downloaded through portal.rfms.com in accordance with the RFMS Best Practices document found on your installation CD (or in an installation documents package), before applying them to the active database with the below method:
https://rfmsinc.zendesk.com/hc/en-us/articles/201559487-RFMS-Program-Update- Instruction-Document
Now the workstations can be connected to the server. When that’s finished, backups can be set up.
Comments
Article is closed for comments.