Full Color Crossover User Guide
Implementation of Color Crossover
Purchase 2 hours of training and get access code.
x>Utilities>System Options>Order Entry>Order Entry>Set Up Product Driven Order Entry
Category Configuration
Type must be Global 
Click the Turn On Product Driven OE box and then click Use Color Crossover.
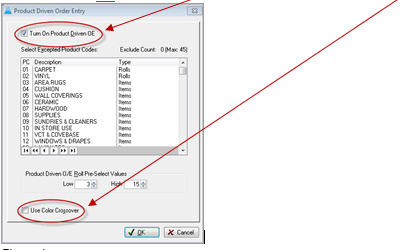
After selecting "Use Color Crossover" enter an unlock code that will only be given upon completion of training of the Color Crossover Module.
Products>File>Color Crossover>Color Crossover Setup
The following screen will appear:

Setting up Products for Color Crossover
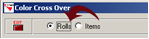
1. Select whether to apply color crossover to Roll or Items. Click the button next to the appropriate choice.
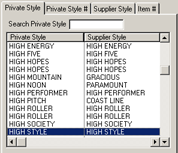
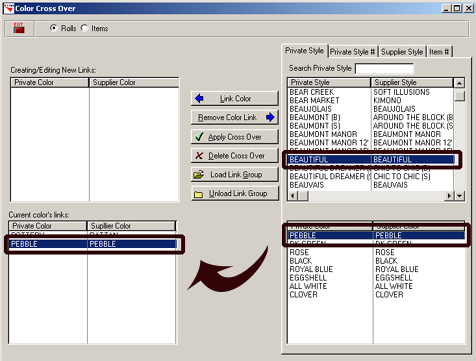
2. Search for the Style to apply a color crossover to. The following portion of the color crossover setup screen will display all products currently set up in the product file. Highlight the appropriate style.
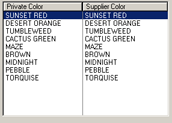
3. The colors that are associated with the style highlighted will appear in the following portion of the color crossover setup screen. Highlight the appropriate color.
4. Once both style and color have been selected; the next step is to add them to the "Creating and Editing New Links" column. Click the "Link Color" button. Continue this process until as many products as necessary have been added for this particular link.
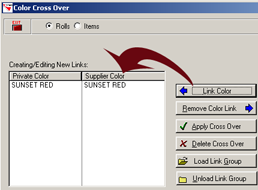
Once the products for this color link have been added, the following options are available:
Remove Color Link
Click this button in order the remove any of the colors added to the "Creating and Editing New Links" column. Use this button to remove colors from linking. For example, let’s say a color called “Cobblestone" is added to the Creating and Editing New Links column instead of a color called "Cottonwood". Simply highlight "Cobblestone" and click the Remove Color Link button. As long as the Apply Crossover button has not been clicked, this feature may be used.
Apply Crossover
If satisfied with the color links added, click the Apply button to apply this Color Crossover. After apply is selected, this information will be exported from the "Creating and Editing New Links" column to the "Current Color Links" column. This information can also be accessed from the Color Crossover Browse screen.
Delete Crossover
Use this option delete color links that have been previously applied. Do three things to delete a color link. First, select the "Load Link Group" button. The Color Crossover Browse will appear. Next, highlight the appropriate crossover and click the select button at the top of the screen. This action will bring the color link back to the Color Crossover Setup Screen. Finally select this crossover and click the Delete Crossover button. Once done, the following box will appear.
Load Link Group
Click this button in order to load previously linked color groups. Loading a Link group will allow editing current color link. Click the Load Link button, the Color Crossover Browse screen will appear. Lists of all current color links are displayed in this list. Choose the appropriate link by highlighting the line and clicking the select button. When the appropriate link is selected, it will appear in the Color Crossover Setup screen. At this point edit or delete this link by highlighting it and clicking the appropriate button.
Unload Link Group
Click the Unload Link Group button to clear the "Creating and Editing New Links" column. This feature is basically designed to allow clearing a currently saved color link from this column yet allowing this link to still be accessible from the Color Crossover Browse screen. The link will not be deleted, only removed from sight to allow less "clutter" on the screen.

Color links will display only when a corresponding product record and color is highlighted. See the following illustration.
Comments
Article is closed for comments.