This utility will allow invoices and quotes to be formatted to a company’s needs. It will give the company the ability to create many different styles of invoices/acknowledgments and quotes and the choice of which one to print each time.

The created documents are global, not user-specific.
Creating the Different Invoices and Quotes
Order Entry>Utilities>Set Up>Config Creator
Choose Invoice or Quote.
The Config Creator Browse List is the first area of the utility. From this screen, styles can be created, edited, deleted or copied.
To Create a style
Click the Insert button  .
.
The Custom Invoice Setup or the Custom Quote Setup screen opens.
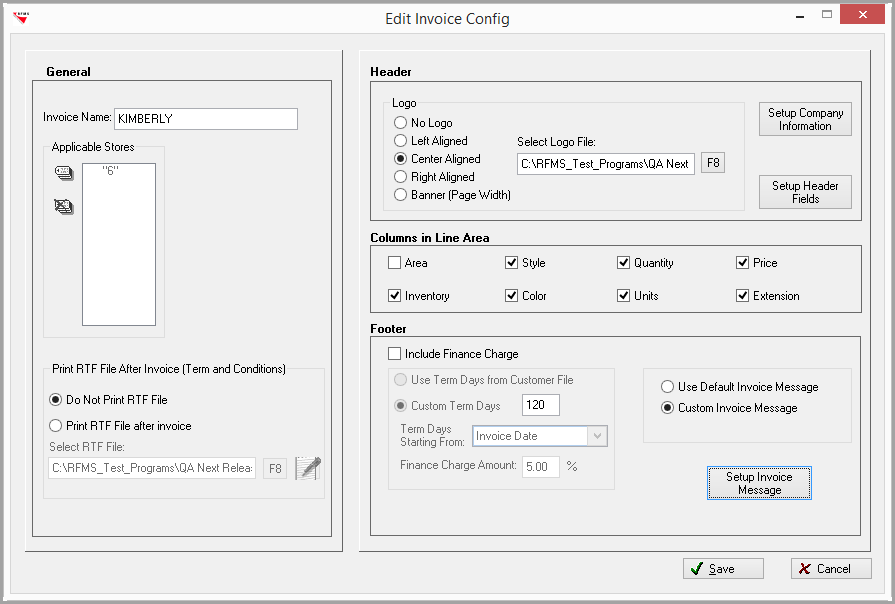
General
- Type in the Title for the invoice
- Tag the stores that will be able to use the invoice style
- Do Not Print or Add an RTF file to the quote or invoice. This can be used for Terms and Conditions or other documents that need to be added to an invoice. RTF files are limited to only one page.

If more than one page is needed for Terms and Conditions or additional information, print them separately and having them near the printer where acknowledgments/invoices are printed.
Header
1. Choose the Logo location
- No Logo
- Left Aligned
- Center Aligned
- Right Aligned
- Banner (Page Width)-This will place the logo over the entire Header Area. Any company information text will be overwritten.
The file size for the image should be 2” x 1.75”. If using Banner the file size needs to be 8” x 1.5”.
2. Set Up Company Information ![]()
- Alignment
- Company Information can be aligned to the left, center or right in the header.
The Logo location will be grayed out and not available under the Company Information Alignment.
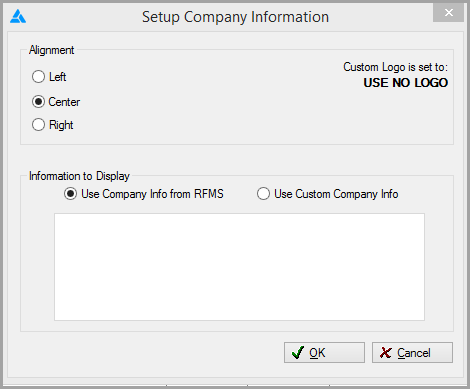
- Information to Display
- Use Company Information from RFMS-This information is pulled from each individual Store's setup.
- Use Custom Company Information-Type the information that needs to be included in the header.
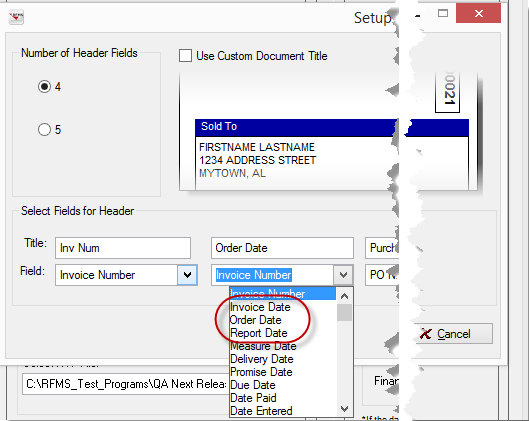
- Setup Header Fields

- Optionally select 4 or 5 fields to be printed on the invoice or quote.
- Select the information to be printed by choosing the field name from the dropdown list. Field Titles: To use the field name as the column title, leave the title field blank. Type in any custom title as desired.
- Field Titles: To use the field name as the column title, leave the title field blank. Type in any custom title as desired.
Options for Header Fields Include:
Invoice Number
Invoice Date
Report Date
Measure Date
Promise Date
Due Date
Date Paid
Date Entered
PO Number
Telephone 1- 4
Job Number
Customer Type
Terms
Salesperson 1
Salesperson 2
Store
Phase
Tract
Block
Lot
Bldg/Unit
Order Type
Ad Source
Service Offering
Date Fields
If Report Date is selected, then then a message saying that the date follows the default invoice will appear at the bottom of the screen.

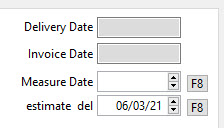
Measure Date and Promise Date are the two user definable fields shown above as Measure Date and estimate del.
Columns in Line Area
Check the boxes of the columns that need to appear on the invoice or quote line area. Only select area if you mainly have one area per line. If area is chosen, then the first area will apply to the total line amount.
Footer
Invoices/Acknowledgements
- Include Finance Charge
- If this box is checked, the ability to choose terms is available.
- Use Term Day from Customer File-The terms defined in the Customer File are used.
- Custom Term Day-Type in the number of days.
- Term Days Starting From:-This Dropdown menu has the following options:
- Invoice Date
- Order Date
- Date Printed
- Finance Charge Amount-Type in the percentage. This field only hold 4 digits.
- Custom Invoice Messages can be set here. This message will override the one set in System Options.
This will not print the Finance Charge set up in Accounting.
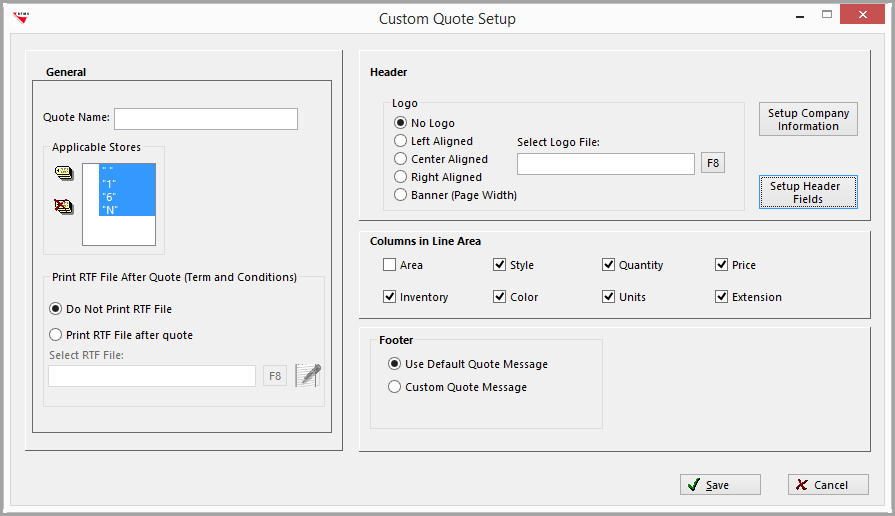
Quotes
Quotes Setup is the same as Invoice/Acknowledgement Setup except for
- Use Default Quote Message
- Custom Quote Message
- This message will override the invoice message set in System Options.
Click Save.
To Edit a Style
To edit a style, click the Edit button . 
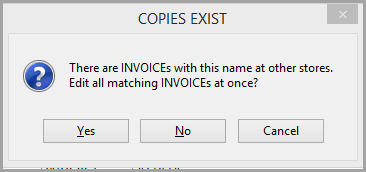
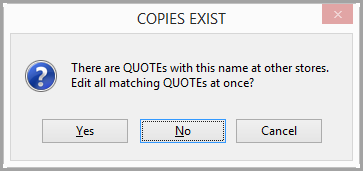
If the style has been created with the same name to be used in multiple store, a warning will appear asking if all matching invoices or quotes needed to be edited at once.
If the style being edited is a multiple store style, then the Name and the Applicable Stores will be grayed out. If it is a single store invoice, then only the Applicable Store will be grayed out.
Make changes and click Save.
To Copy a Style
A style already created can be copied. Click the Copy button. 
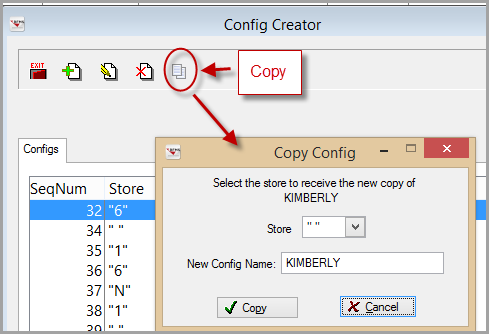
The Copy Config screen opens. Choose the store and new name you want for the invoice or quote.
Printing
When printing, the dropdown menu will have the invoices/acknowledgments or quotes created for that store listed.
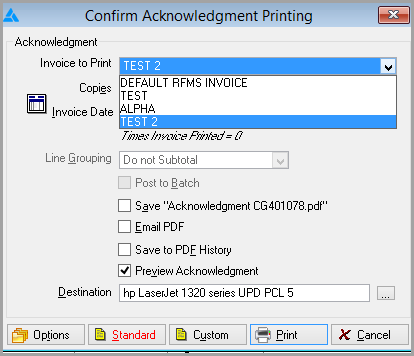
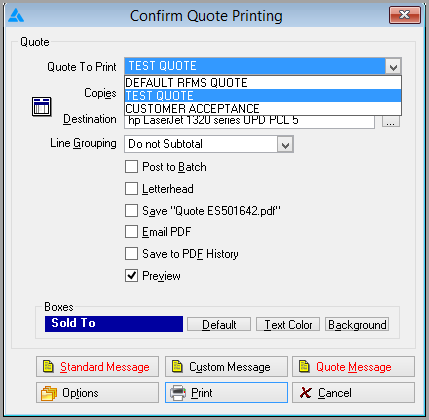
Default RFMS Invoice and Default RFMS Quote is the invoice that RFMS prints normally.
The last style invoice printed will be the default the next time an acknowledgement/invoice or quote is printed.
Only the Private Options under the Options Button work for all invoices and quotes. The Print Columns follows the Config Creator settings (not what is selected here).

![]()
If a custom configuration for invoices and quotes already exist, it will be an option in the dropdown menu.
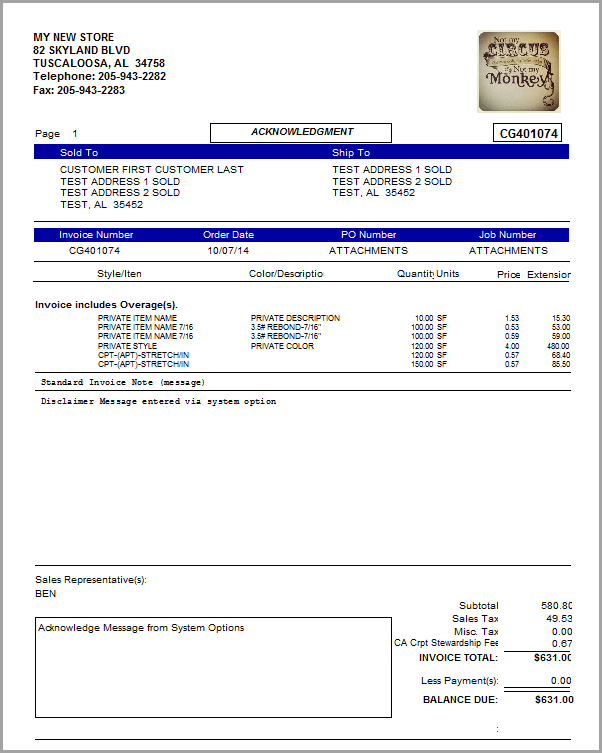
Example of Invoice Created with Config Creator
Comments
Article is closed for comments.