Please note, when working directly with your SQL database software there is always a risk of data loss if not handled properly. Therefore, RFMS recommends these processes be done by a Qualified SQL Technician.
RFMS is not responsible for performing backups, restores, maintenance, or performing integrity checks of database or backups.
Important: To ensure integrity of the backup, all users must be out of RFMS when running a database backup.
- On the server, open SQL Server Management Studio and select Connect when prompted.
 NOTE: Make sure that the correct server name and instance (if needed) is in the Server Name field.
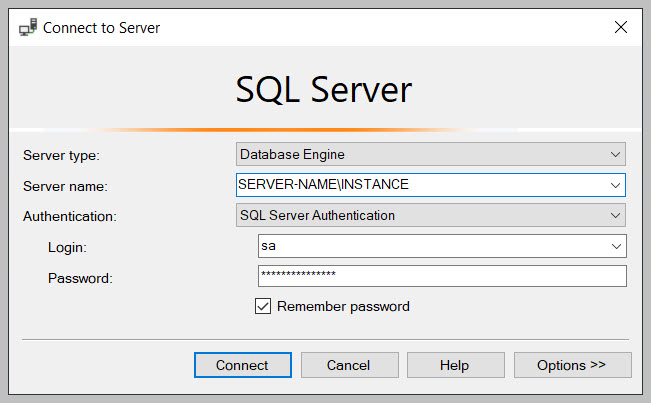
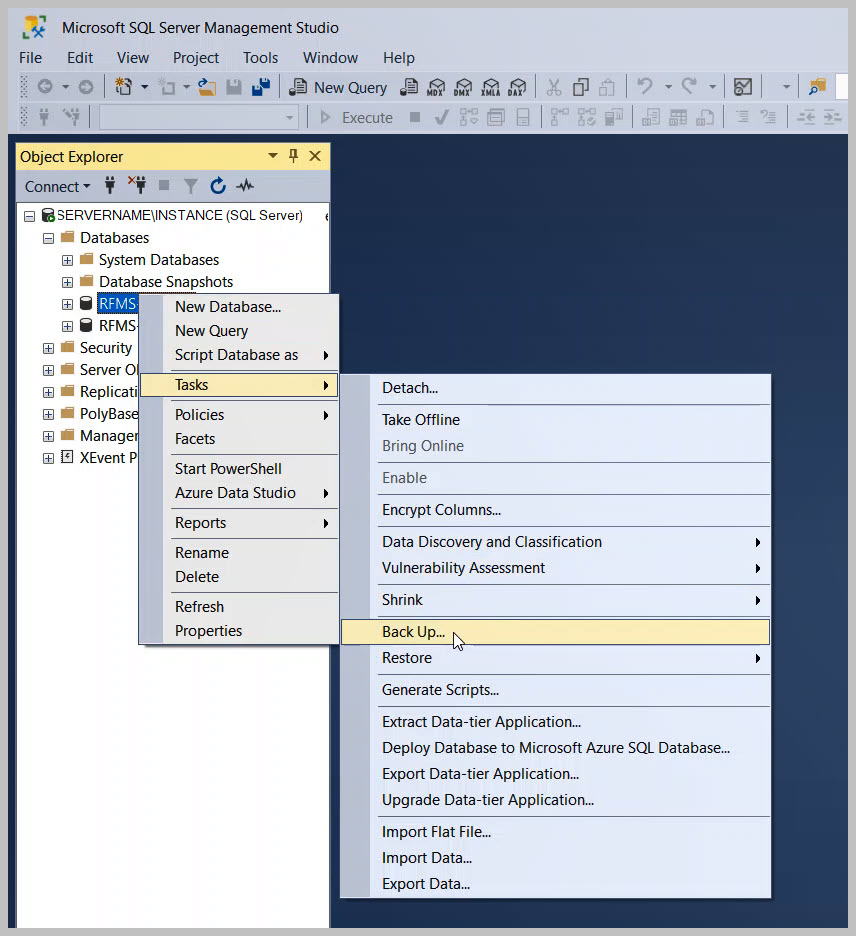
- Expand Databases, then right-click on the database, select Tasks > Back Up
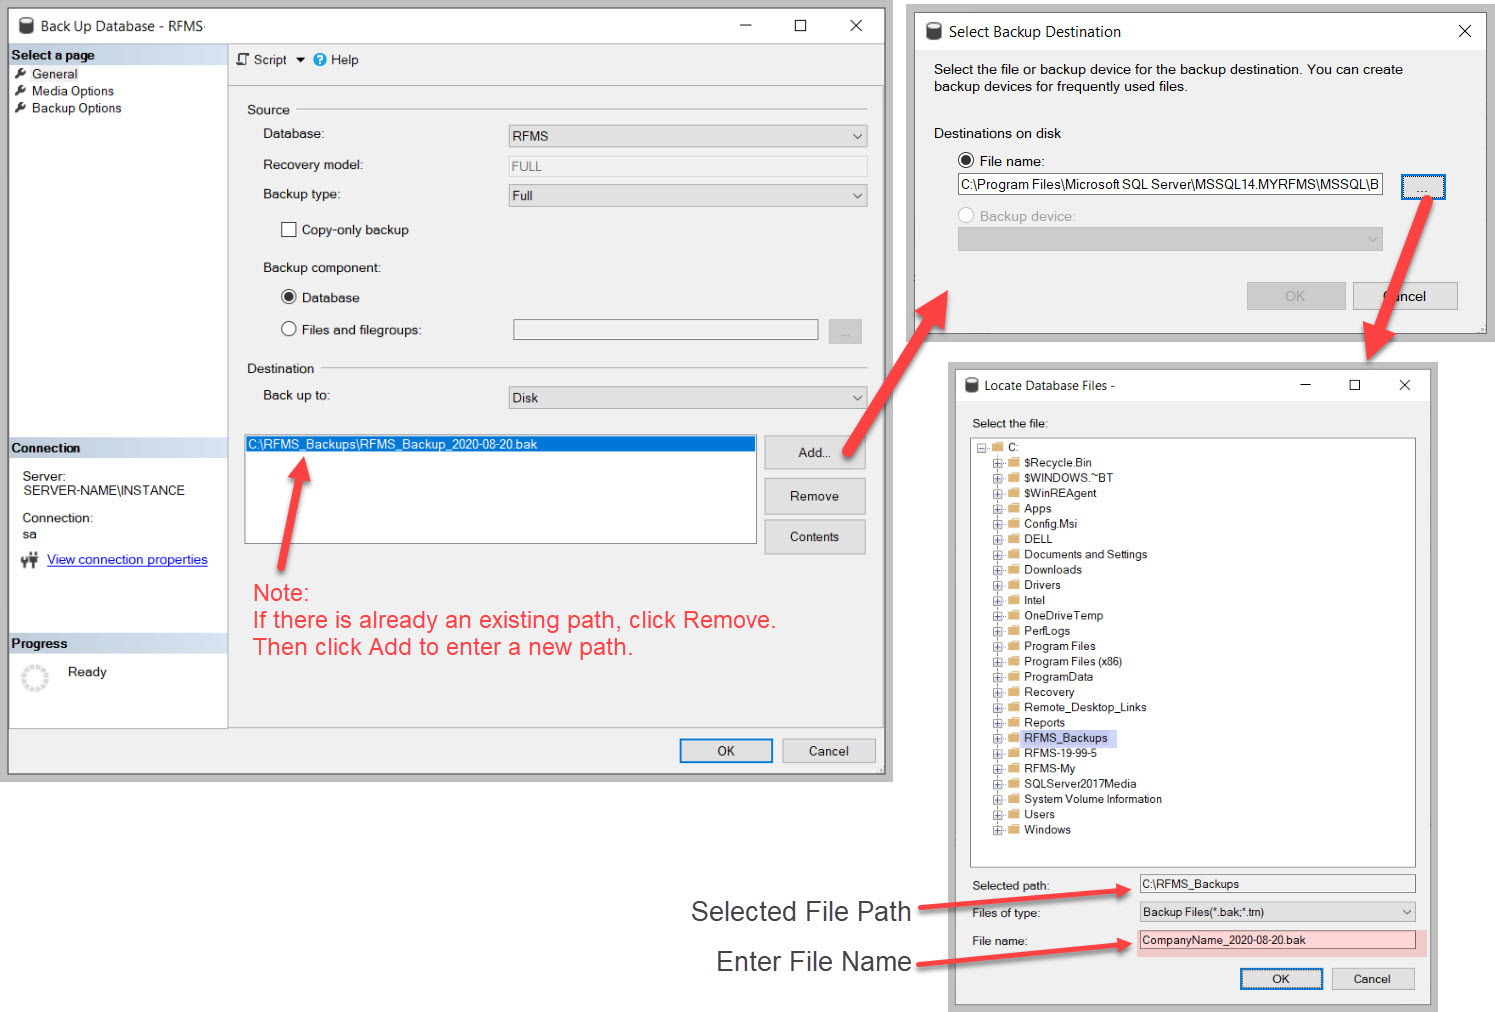
- In the Back Up Database window select the following:
- Database: (this should default to the database that was right-clicked on)
- Backup Type: Full
- Destination: Click Remove if there is an existing path. Click Add to select a new path and enter a filename
- In Select Backup Destination, click the browse button (...) to specify a path, then enter a filename (IMPORTANT: make a note of this location as it will be needed later).
NOTE: If you have been asked to send a backup of your database to RFMS for review or testing, please include the name of your company and the date of the backup in the filename (use hyphens [not periods] to separate numbers in date).
-
Select OK to start the backup process.
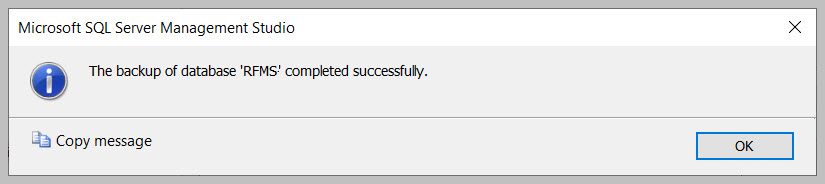
- When backup is complete a screen like below will pop up. Select OK to complete the backup.
- To locate your database backup file go to the location specified in the Destination field (Step 3).
If you are sending this backup to RFMS for review or testing, follow the instructions in this article, RFMS File Upload, on how to upload the file.
Comments
Article is closed for comments.